Aug 17Source: Intelligent Browse: 144
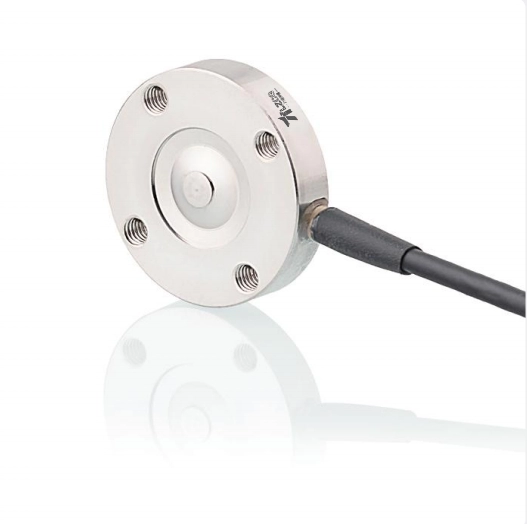
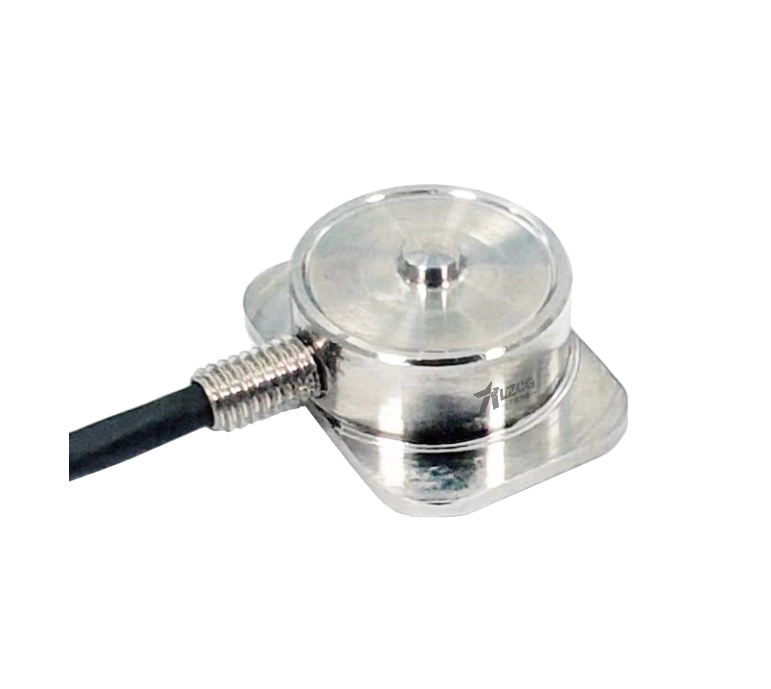
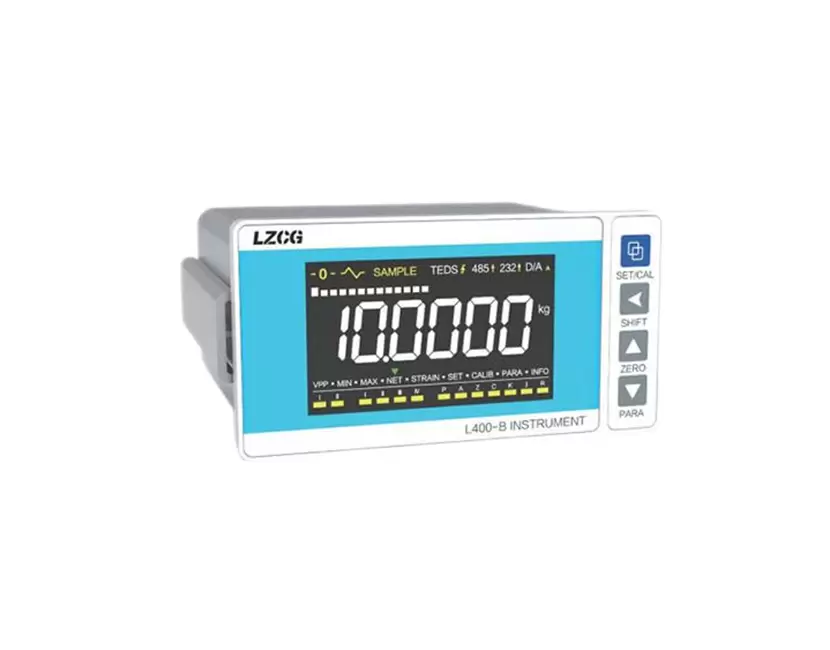
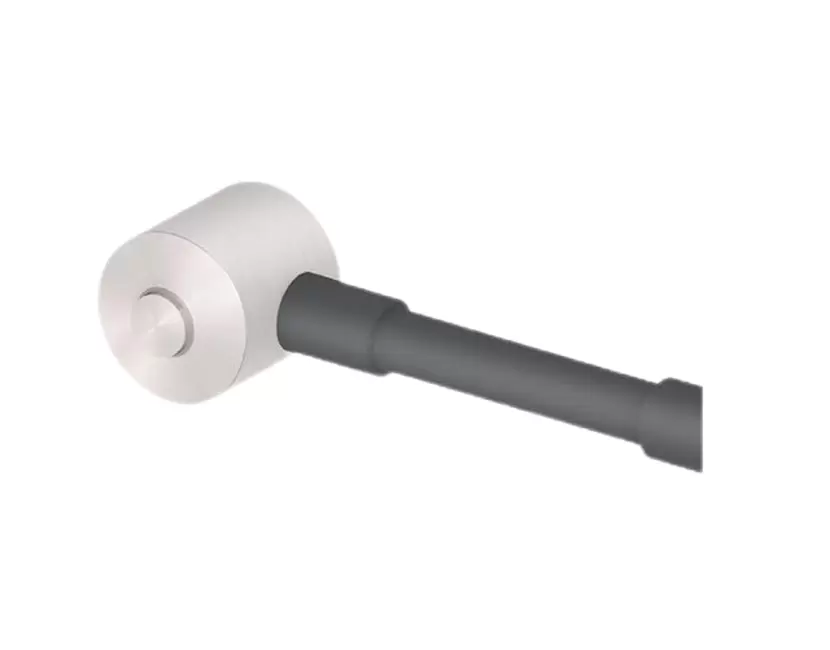
Installing a pressure sensor for weight measurement correctly is important for achieving stable and consistent readings. In weighing applications, a load cell detects the force produced by a load and converts it into an electrical signal that can be processed by a weighing instrument or control system.
A parallel beam load cell, for example, is commonly installed as part of a weighing platform or other weight measurement equipment. The installation process mainly involves preparing the mounting surface, positioning the sensor correctly, connecting the wiring, and checking the completed setup.
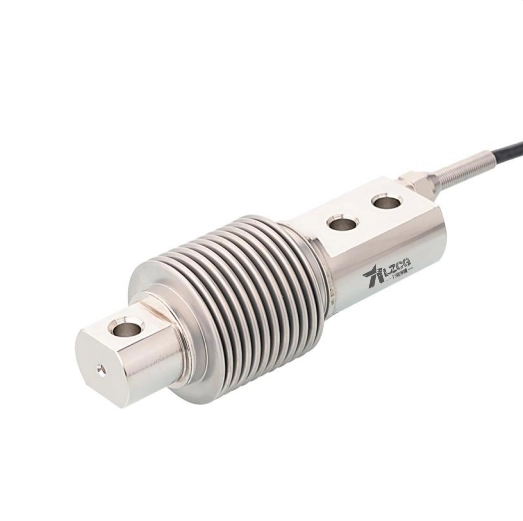
Before mounting the sensor, review its mechanical drawing and installation instructions.
Pay attention to:
Understanding these details before installation can help prevent incorrect positioning or unnecessary adjustments.
The mounting surface should provide a stable foundation for the sensor.
Before installation, make sure the mounting area is:
A stable mounting structure helps ensure that the applied force follows the intended load path.
For a parallel beam load cell, the mounting structure should also allow the sensing element to respond properly when weight is applied.
Load direction is one of the most important considerations when installing a weight measurement sensor.
A load cell is designed to measure force in a specific direction. Therefore, the sensor should be positioned according to the load-direction marking or diagram provided by the manufacturer.
Applying force from an unintended direction can affect the measurement signal and may reduce measurement consistency.
Before tightening the mounting hardware, confirm that the sensor orientation matches the intended direction of the applied load.
Many parallel beam load cells use screw-mounted installation.
Align the mounting holes with the prepared structure and secure the sensor using suitable mounting hardware.
During installation:
The mounting structure should hold the sensor securely while allowing it to respond to the intended load.
Once the sensor has been installed, make sure the load-bearing structure is positioned correctly.
The weight should be transferred through the intended measurement path. Avoid unnecessary off-center loading whenever possible.
This is particularly important when the sensor is installed underneath a weighing platform. The platform and its supporting structure should distribute the load appropriately so that the sensor receives the force it is designed to measure.
Even when a load cell has anti-eccentric-load characteristics, good mechanical design and appropriate load positioning remain important.
After completing the mechanical installation, connect the sensor wiring according to the manufacturer's wiring diagram.
Do not determine the connections based only on wire appearance or color.
Before applying power, check that:
Incorrect wiring can prevent the sensor from producing the expected output.
Cable routing should also be considered during installation.
Avoid placing the cable where it can be:
The cable should be routed in a way that does not introduce unwanted forces into the load cell.
This is especially important for weighing systems where even small external mechanical influences can affect the measurement signal.
Before testing the system, inspect the entire installation.
Make sure that the sensor and load-bearing structure do not unintentionally touch surrounding components.
Check for possible interference from:
An unintended contact point can create an alternative force path. When this happens, part of the load may bypass the sensor and produce an inaccurate measurement.
After the mechanical and electrical installation is complete, test the sensor before normal operation.
Start with a relatively small known load and observe the output.
Check whether:
If the output is unstable, check the mounting, load direction, wiring, and surrounding mechanical structure before continuing.
After confirming that the sensor has been installed correctly, calibrate the complete weighing system according to the equipment requirements.
A typical calibration process involves establishing the zero point and applying a known reference weight to verify the measurement.
Calibration should be performed after the mechanical installation is complete. Changing the sensor position or mounting structure afterward may affect the measurement result.
Installing the sensor in a direction that does not match the specified load direction can affect measurement performance.
A loose or unstable mounting structure can cause inconsistent readings.
Placing the load far from the intended measurement position can introduce measurement errors.
The sensor should always be connected according to its wiring diagram.
Nearby components should not unintentionally support the load or restrict the sensor's intended movement.
A tightly pulled or improperly routed cable can introduce unwanted mechanical forces into the weighing system.

 EN
EN